
Pumpkin carving is one of my favorite Halloween traditions, but choosing what to carve might be the hardest part. You want something a little more interesting than the classic triangle eyes, without picking a design that requires professional sculpting skills and three hours of your evening.
So, I gathered 17 pumpkin carving ideas that hit the sweet spot: creative enough to make your pumpkin stand out, but still doable at home. There are cute designs, spooky ones, and a few unexpected ideas if you want to try something completely different this year.
Before you pick your favorite and start carving, though, a few simple tricks can make the process much easier and help your pumpkin look better when you’re finished.
This post may include affiliate links. That means if you buy something through one of our links, we might earn a small commission, at no extra cost to you.
You might also like:
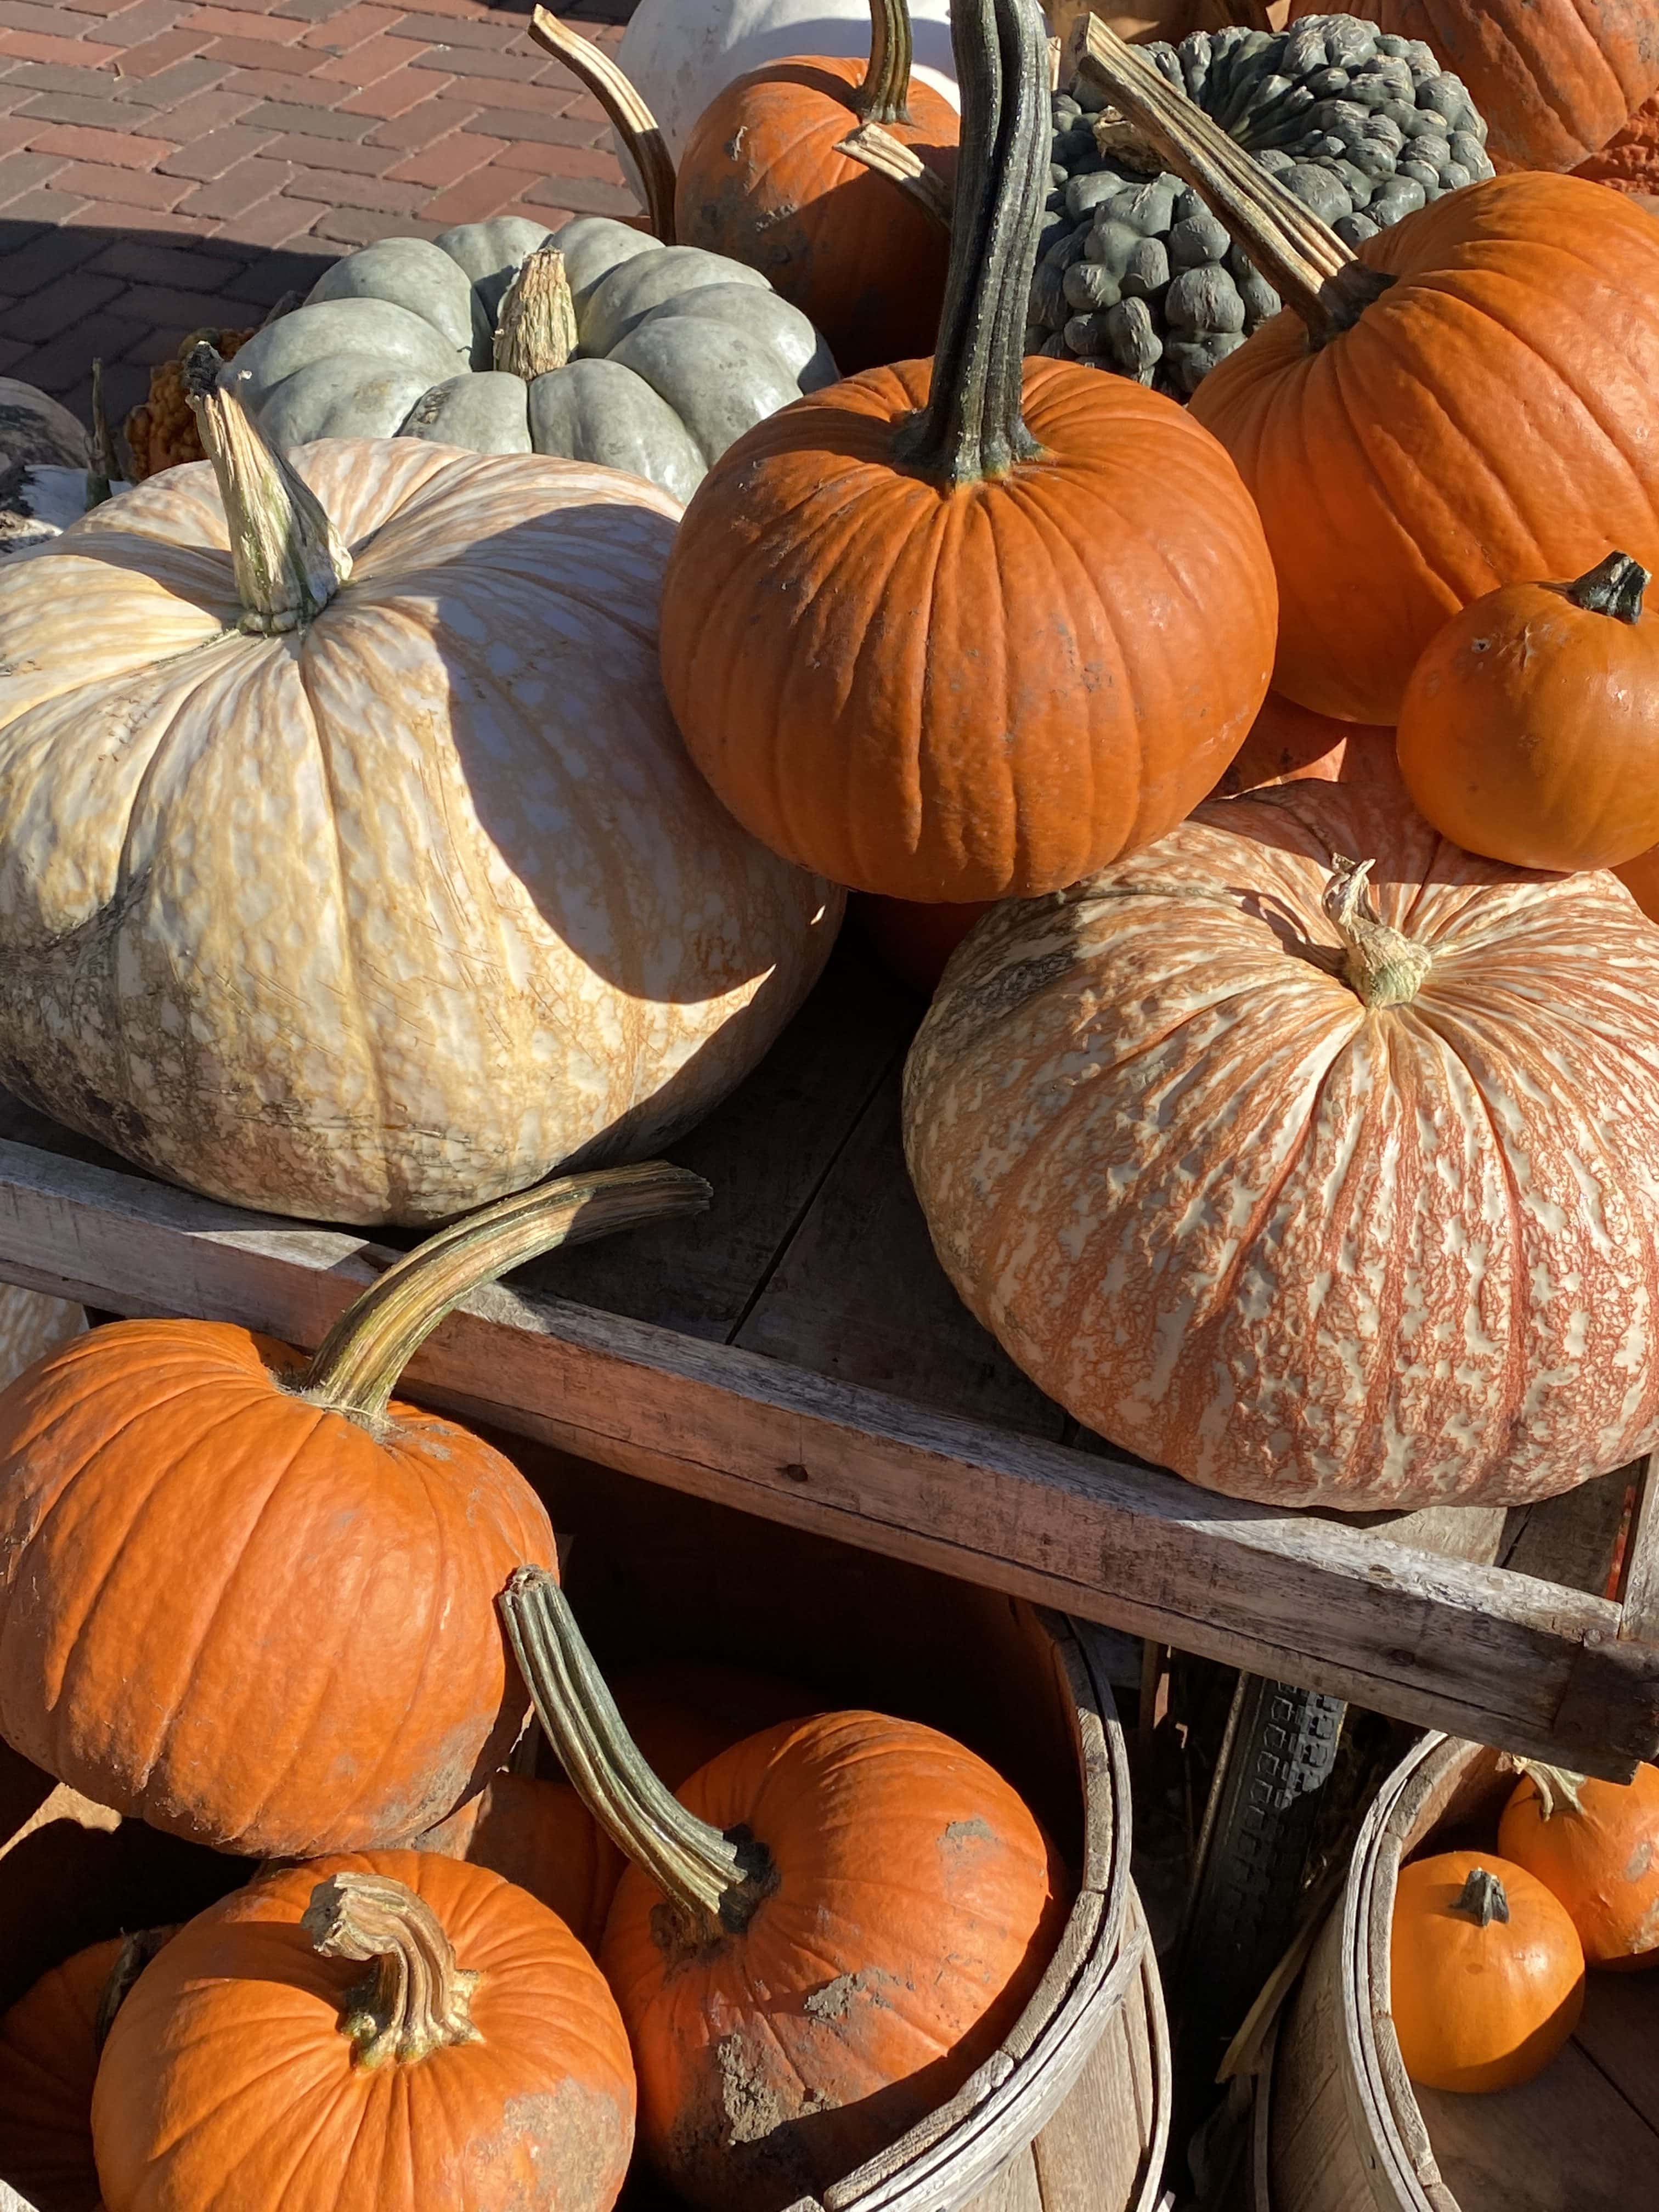
Pumpkin Carving Tips & Tricks:
Cut From the Bottom
Instead of cutting a circle around the stem, try making your opening on the bottom of the pumpkin. You can simply place the pumpkin over your candle or battery-operated light when you’re done, and you won’t have to reach inside every time you want to turn it on. As a bonus, keeping the stem intact can also help your pumpkin stay fresh longer.
Use a Dry-Erase Marker
Sketch your design directly onto the pumpkin with a dry-erase marker before making any cuts. If your eyes are uneven or you suddenly decide your ghost needs to move two inches to the left, you can wipe it off and try again. Much better than realizing it after you’ve already committed with the carving knife.
Thin the Wall Behind Your Design
Once you’ve scooped out the pumpkin, scrape the inside wall behind the area you plan to carve until it’s a little thinner. This makes carving detailed shapes much easier and allows more light to shine through smaller openings.
Start With the Small Details
If your design has a mix of small details and larger cutouts, carve the little sections first. The pumpkin will be sturdier while you work on them, and you’ll be less likely to accidentally break a delicate part of your design later.
Use the Right Tool for the Detail
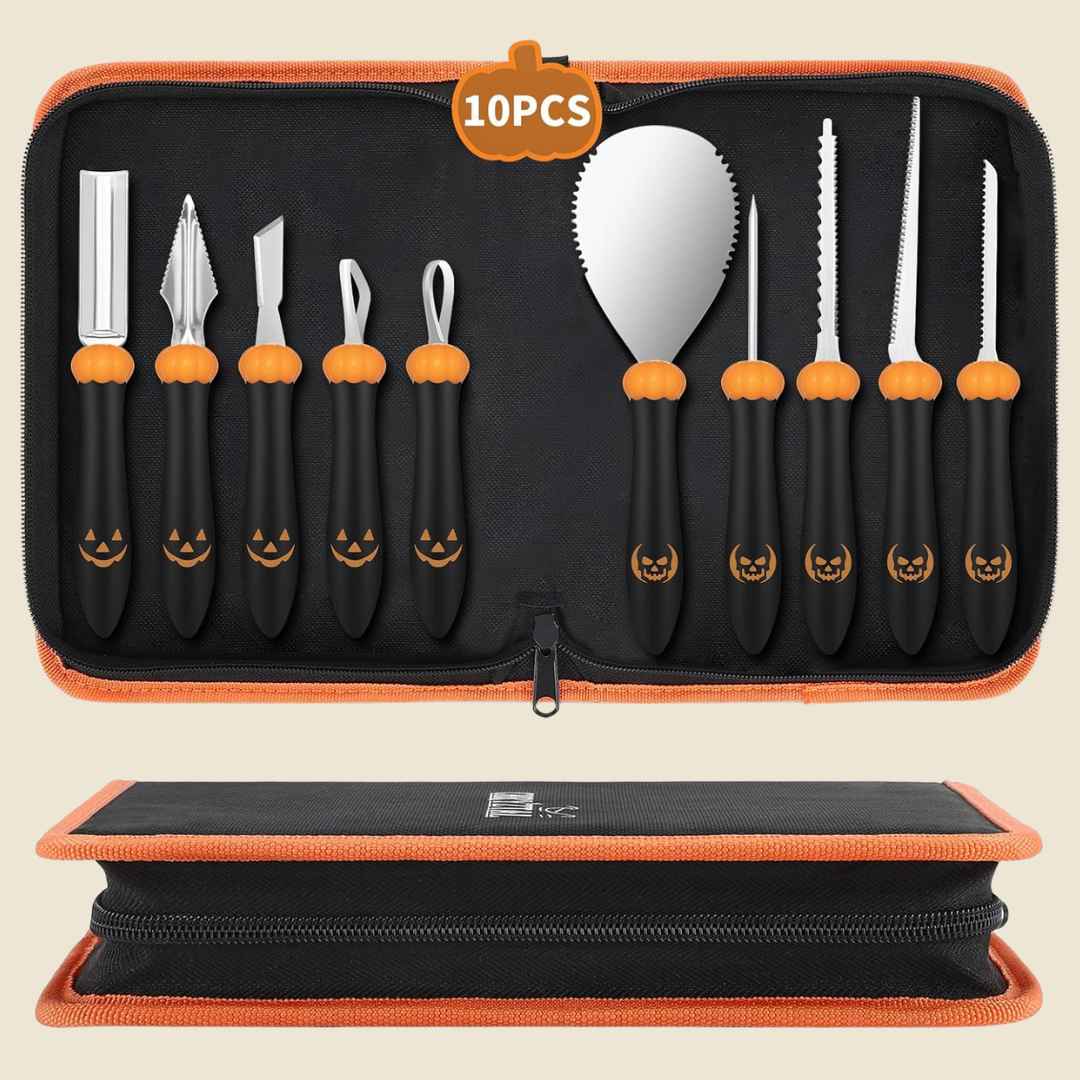
You don’t have to carve the entire pumpkin with the same little saw. A pumpkin carving kit works well for most designs, while smaller craft tools can help with tiny details. For designs where you only want to remove the outer orange layer, a linoleum cutter can give you that softer glowing effect without cutting all the way through.
Make Scooping Out the Pumpkin Easier
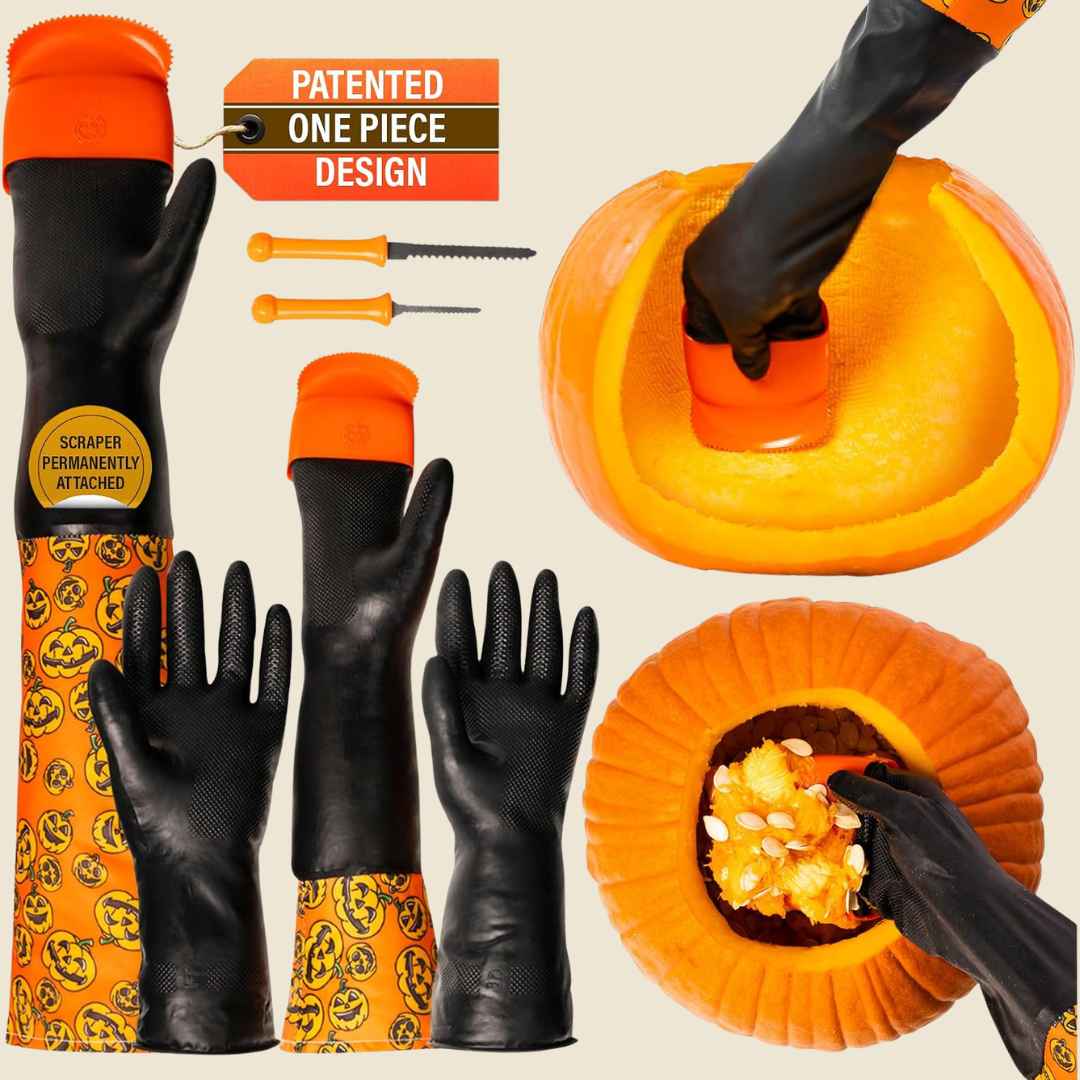
A sturdy metal spoon or ice cream scoop works much better than the flimsy scoop that comes with some carving kits. You can also use a hand mixer on low speed to loosen the stringy pulp before scooping it out.
Keep Your Pumpkin Fresh
Carved pumpkins dry out quickly, especially in warmer weather. Once you’re finished carving, keep your pumpkin somewhere cool and out of direct sunlight whenever possible. If the edges start looking dry, a little petroleum jelly rubbed over the exposed cut surfaces can help slow moisture loss.
Pumpkin carving essentials:
Amazon
Carving Tools
Amazon
Pumpkin Scraper Gloves
Amazon
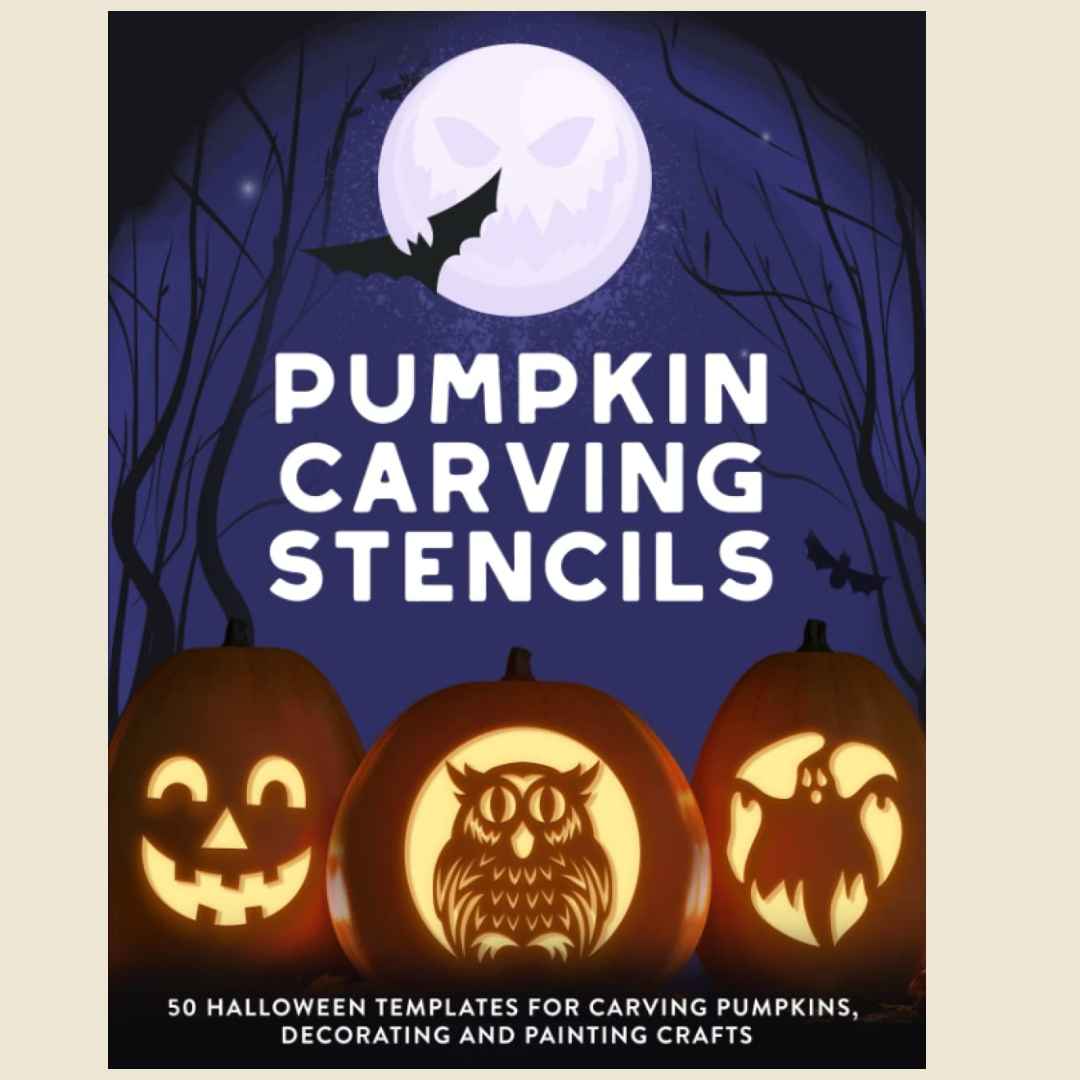
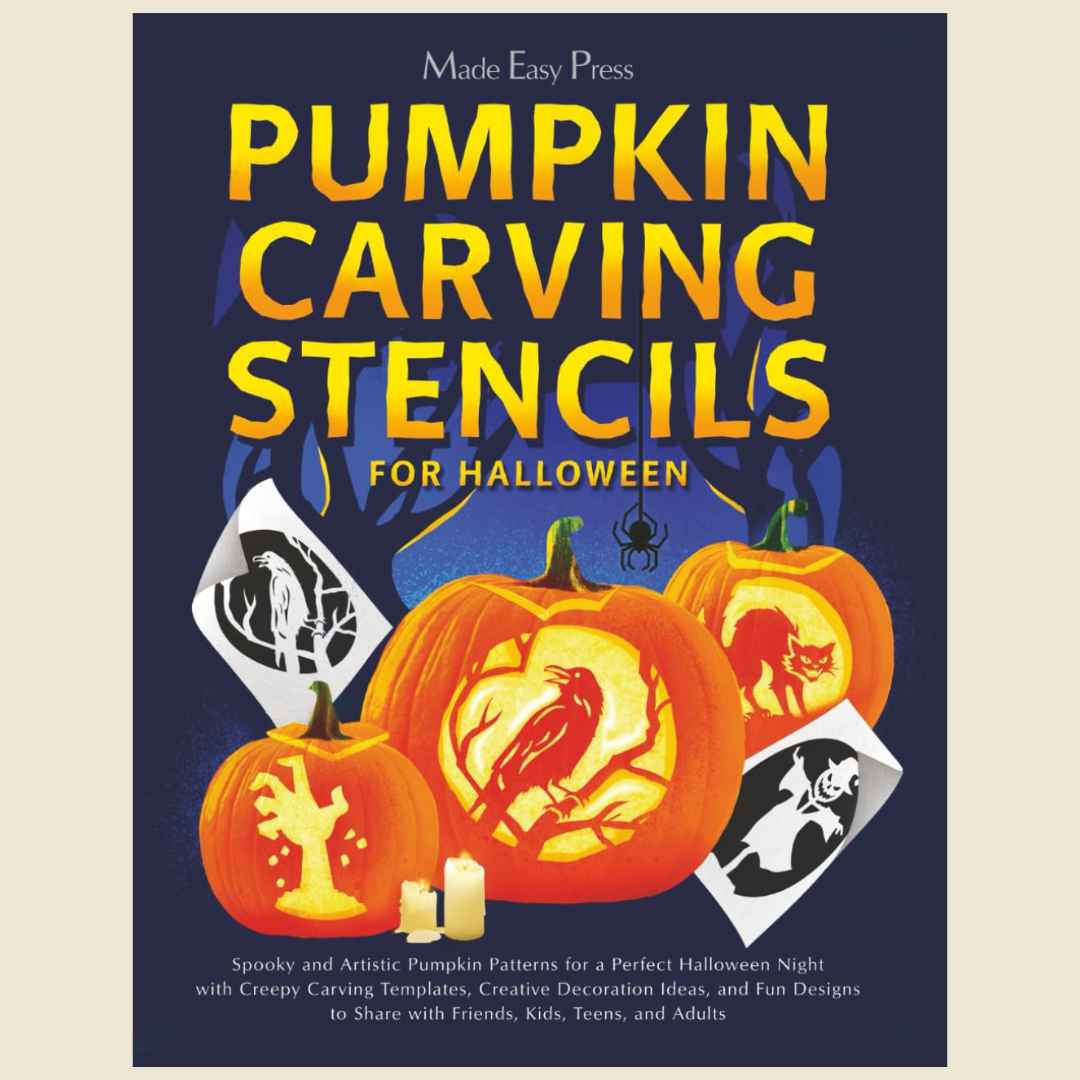
Carving Stencils
Amazon
Carvin Stencils
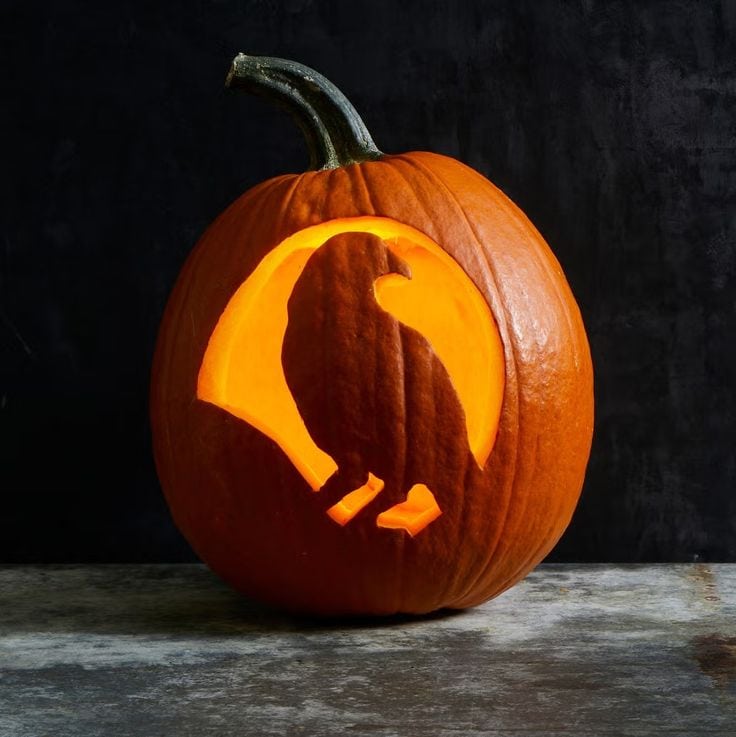
1. Raven
source
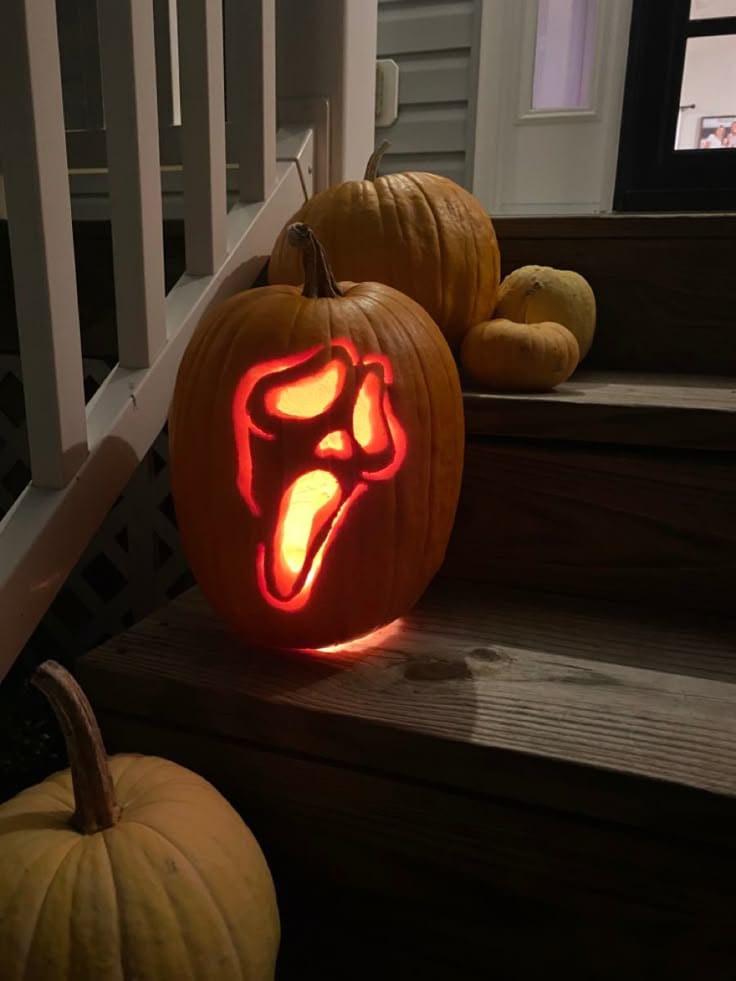
2. Ghostface
source
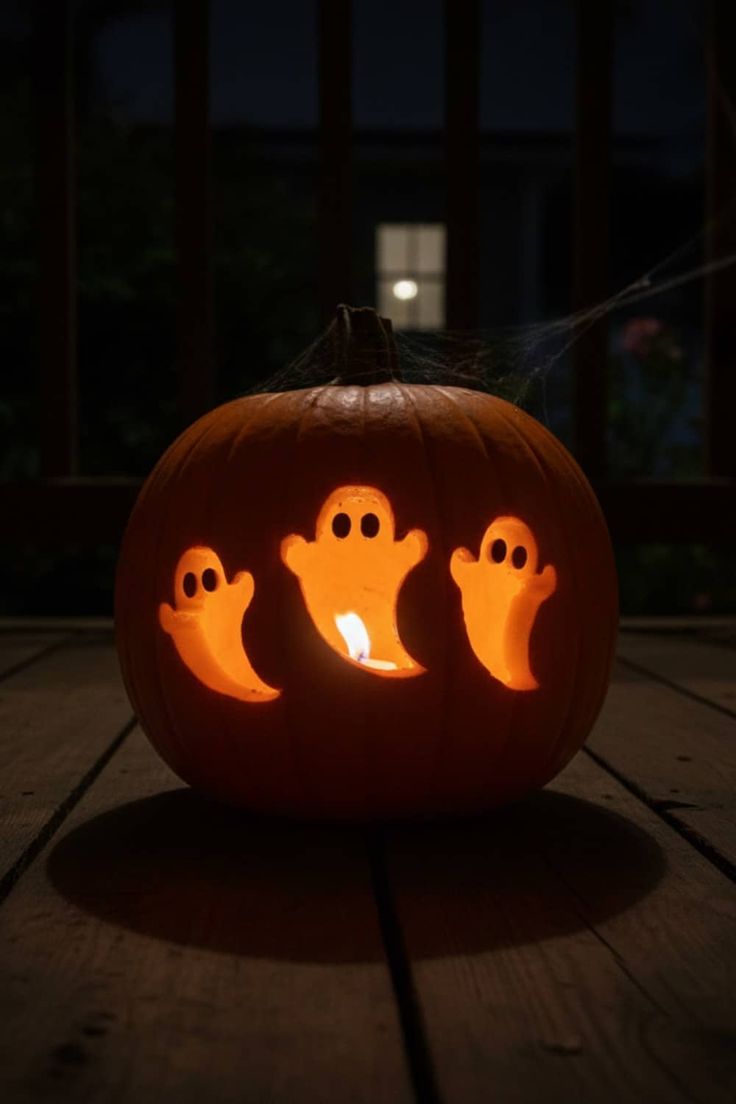
3. Ghosts
source
4. Cottage
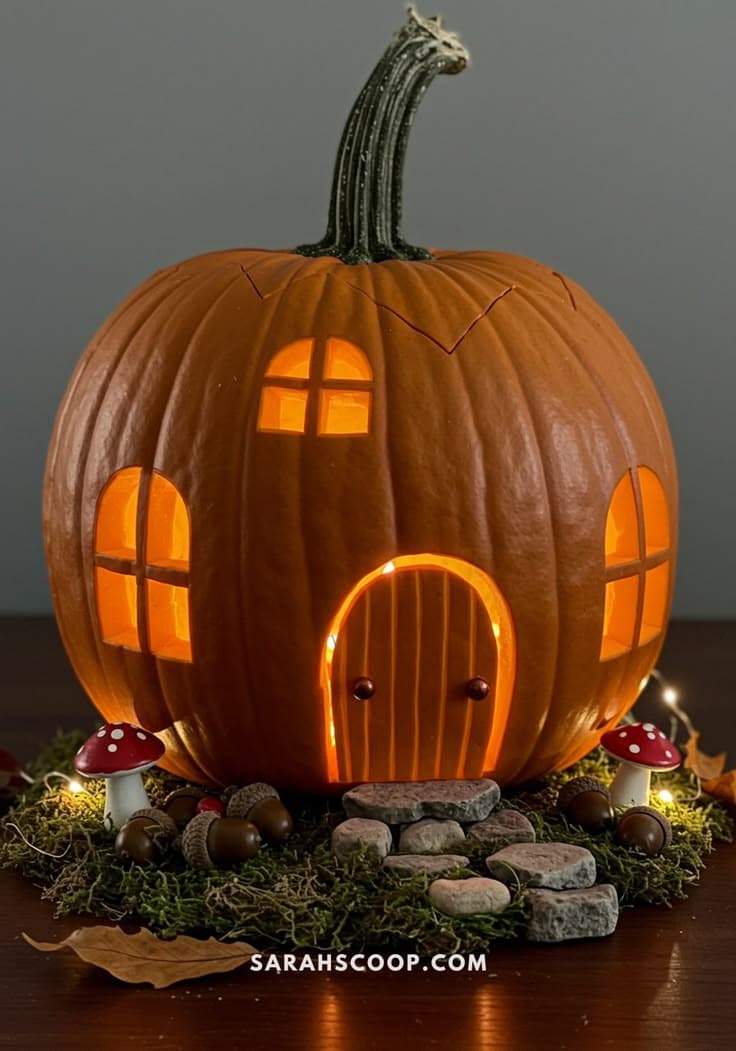
source
5. Stars
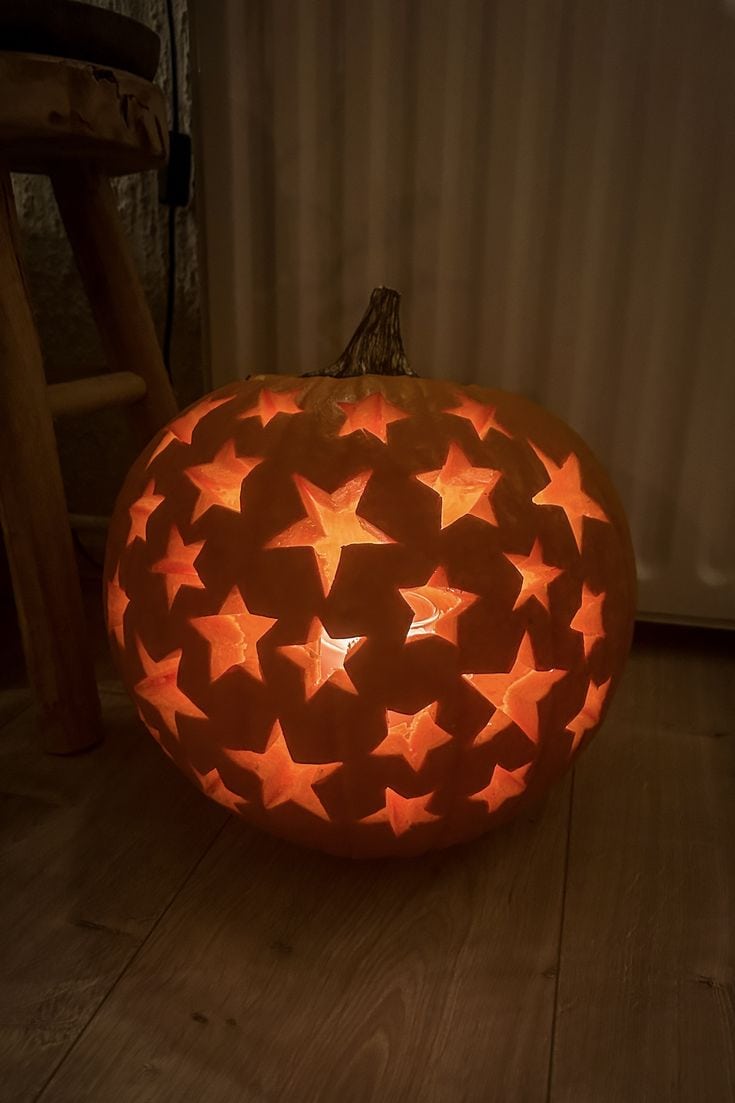
source
6. Clouds
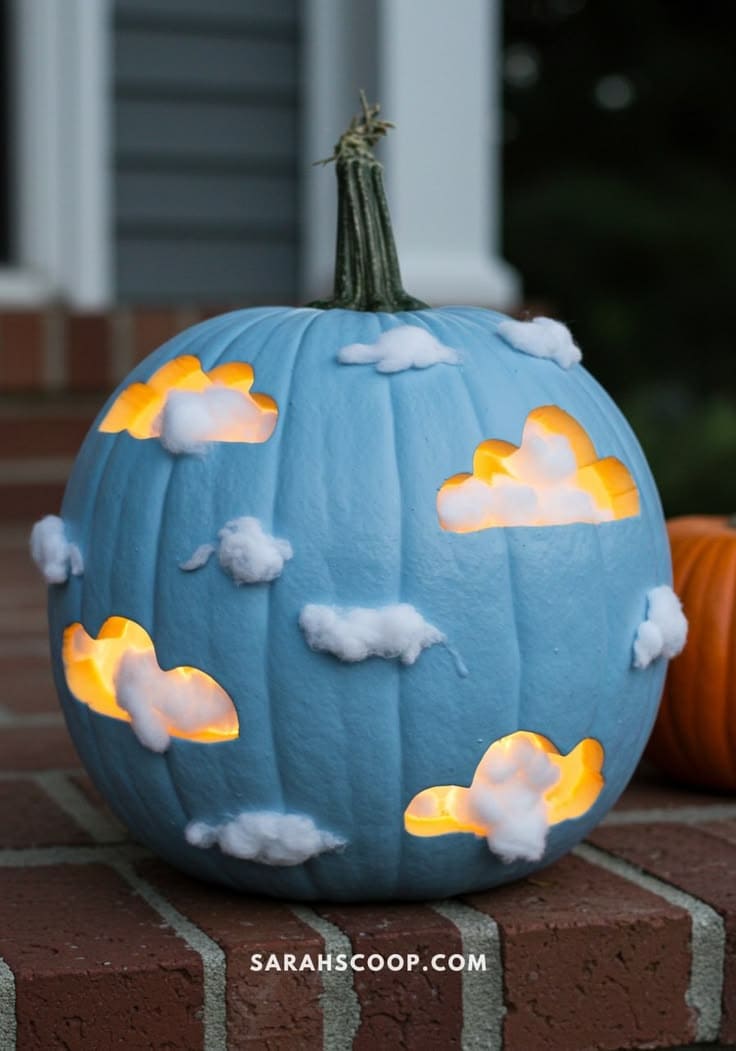
source
7. Ghosts Couple
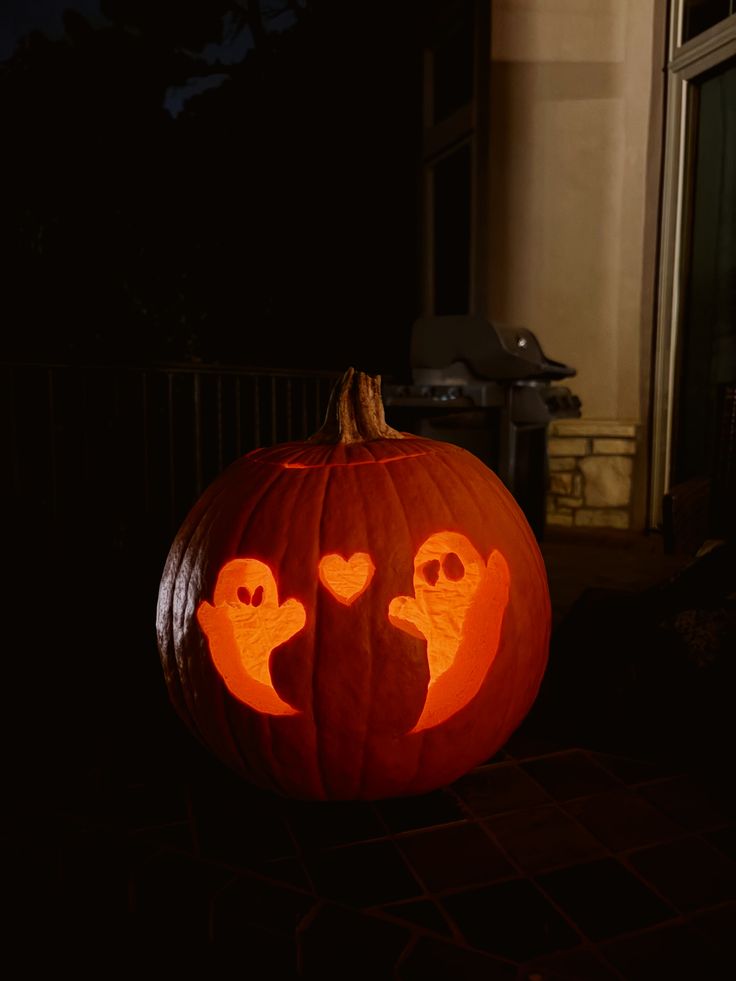
source
8. Poison Apple
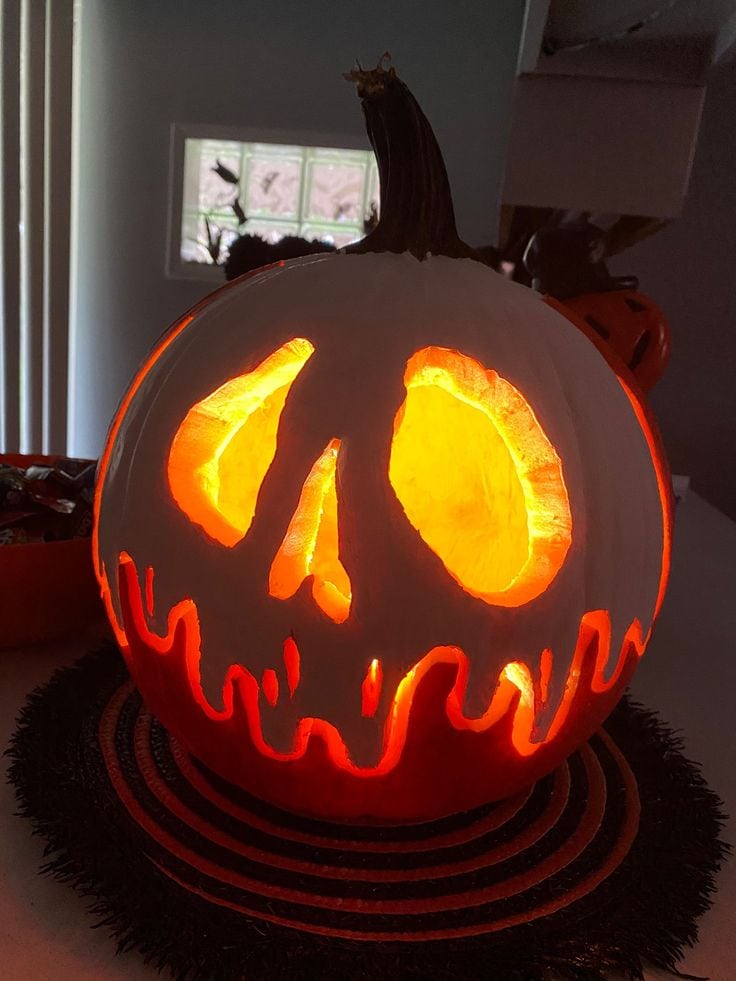
source
9. Fairy House
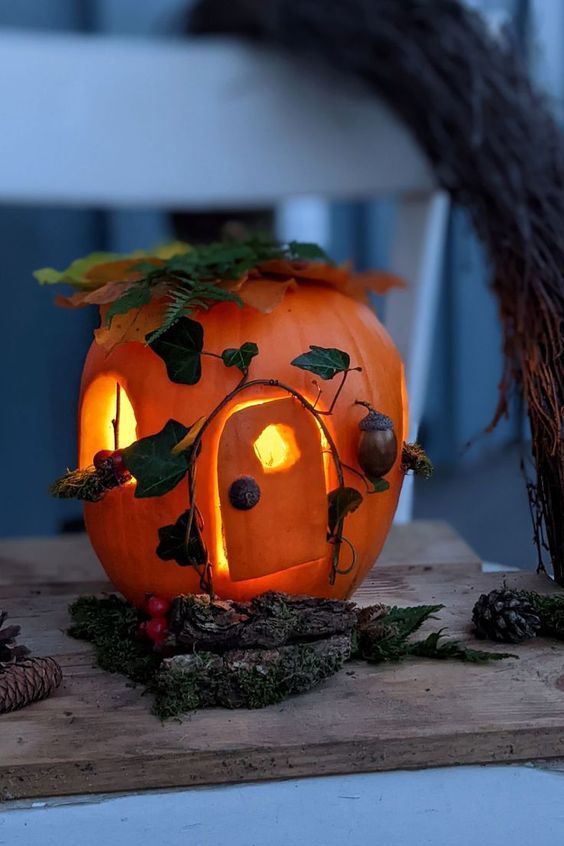
source
10. Cat
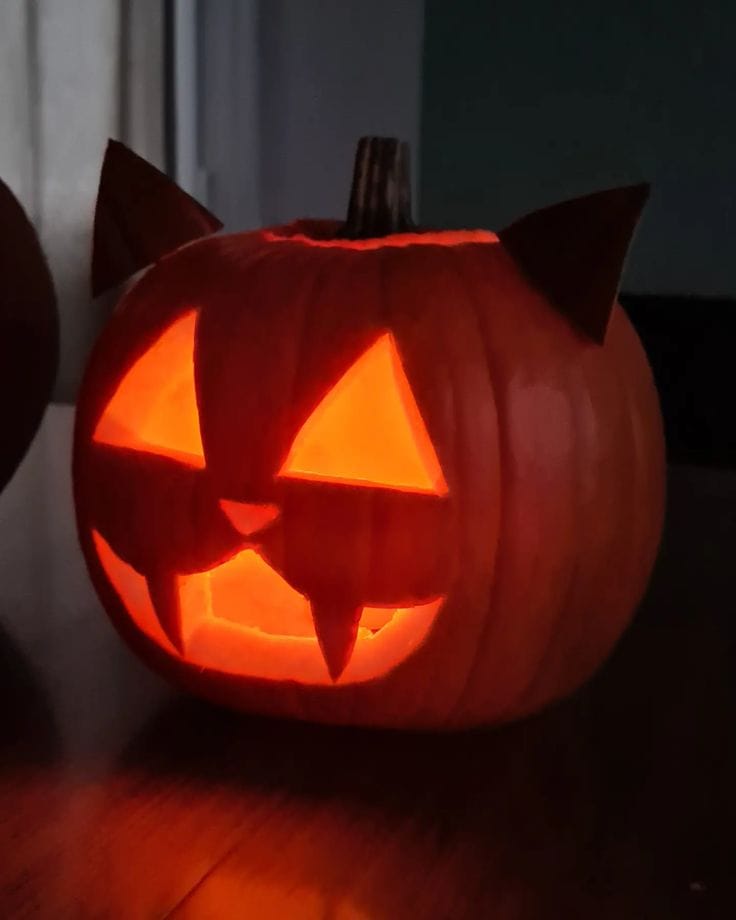
source
11. Spider
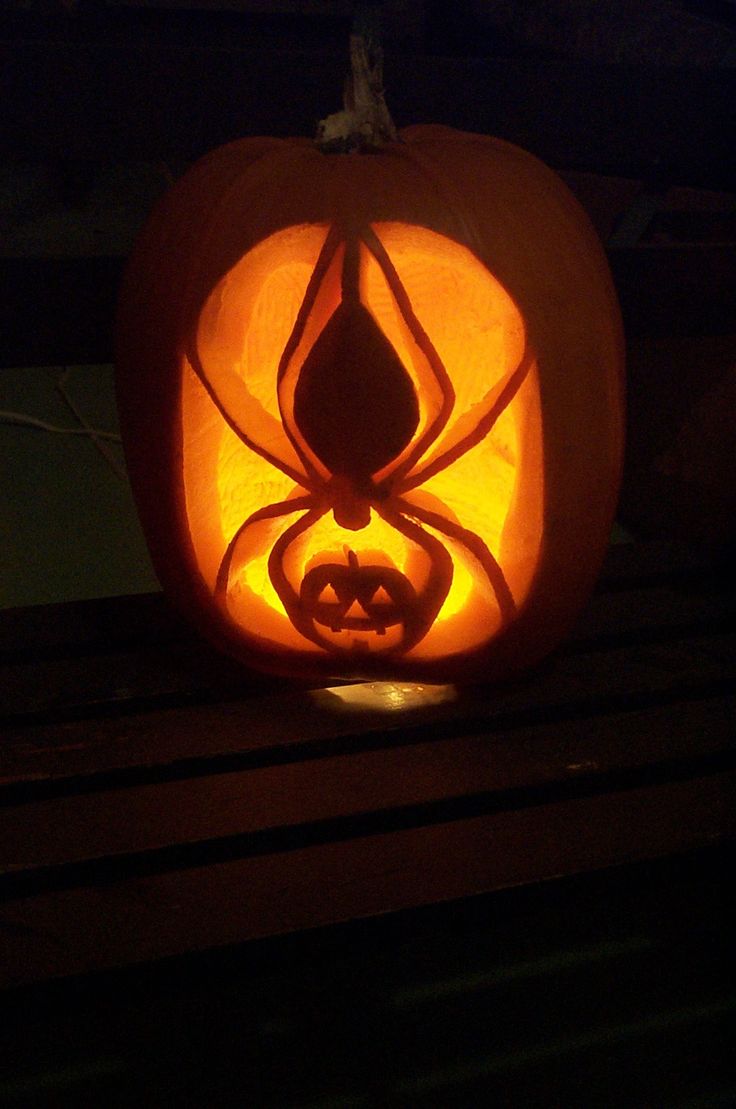
source
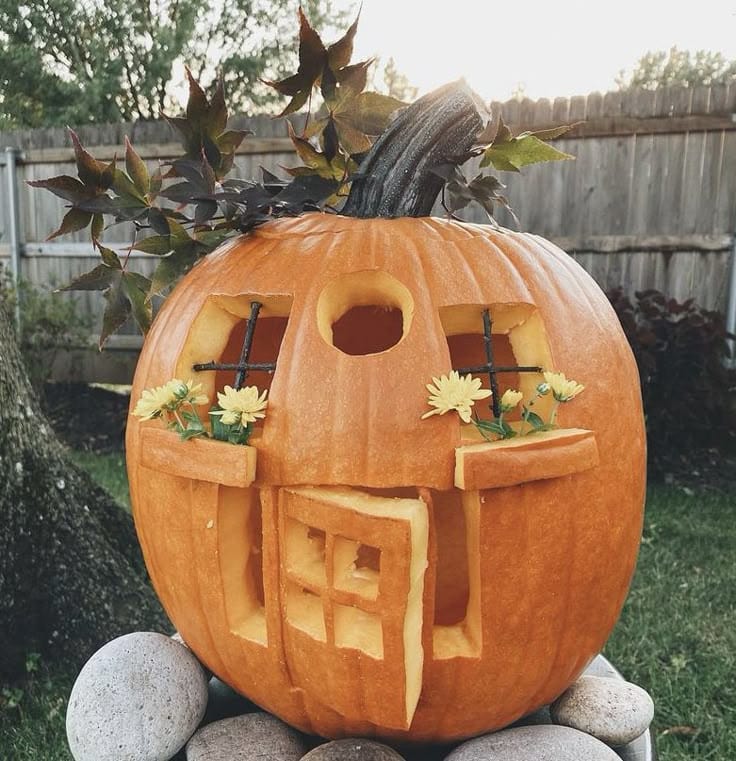
12. Fairy Cottage
source
13. Heart Eyes Jack O' Lantern

source
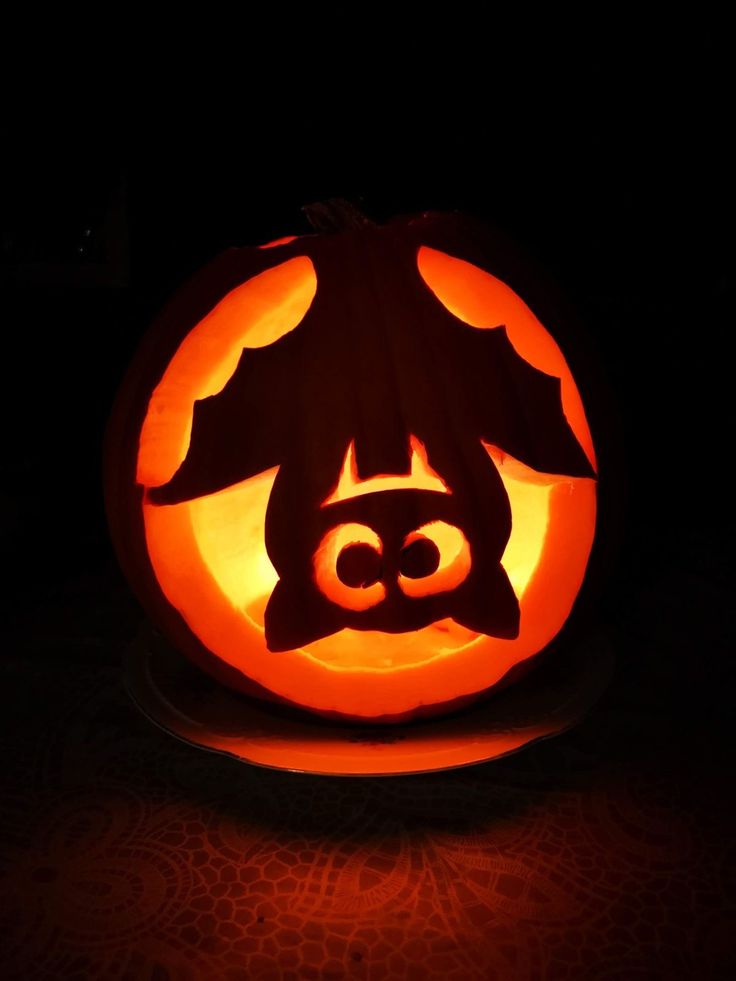
14. Bat
source
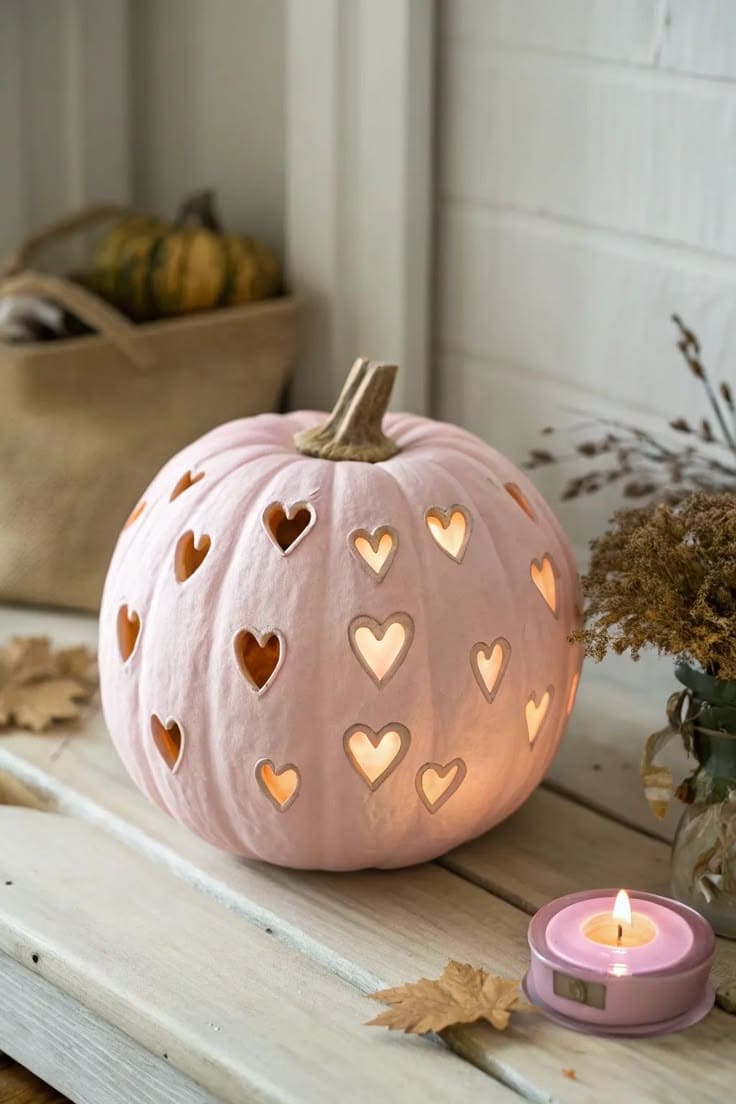
15. Pink Hearts
source
16. Squirrel

source
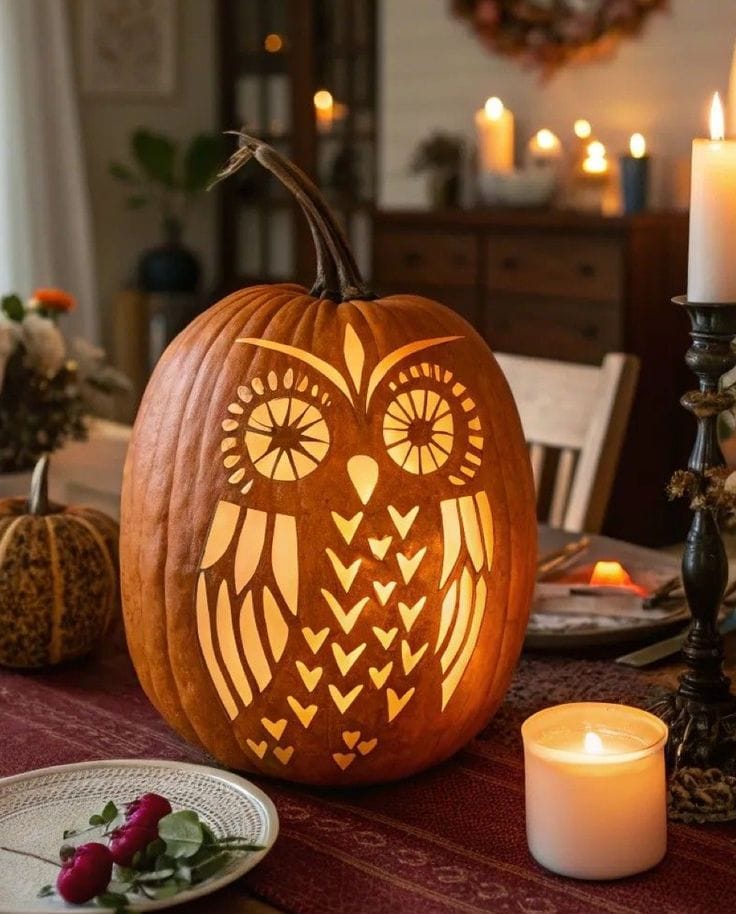
17. Owl
source
I hope these pumpkin carving ideas gave you plenty of inspiration for your own jack-o’-lantern this Halloween. Whether you keep it cute and simple or try something a little more creative, half the fun is picking a design and seeing it come to life once the lights go out.
Save your favorite ideas for carving night, grab a few pumpkins, and make an evening of it with a Halloween movie and plenty of snacks. Happy carving! 